Sashween Kitchen Tool to Sieve Food to Make Baby Food
A recent study conducted by the British Children's Food Campaign found that some baby foods were actually worse than junk foods, containing as much sugar and saturated fats as cookies and cheeseburgers! It's no wonder more parents today are choosing to feed their tiniest tykes a made-from-scratch diet.
Whether you are introducing your baby to his first taste of solid food or he is graduating to finger foods, you too might want to consider the benefits of home-made meals: they can provide better nutrition at a cheaper price, with less waste than their store-bought, pre-packaged counterparts. And it's easy to do.
Just remember to use CLEAN utensils, tools, and pans;wash and peel all fruits and vegetables; and follow the current guidelines and your pediatrician's advice for age appropriate food introduction.
While you can purchase specific baby food makers, you can often get by with just a blender or a food mill.
Stage One
Stage One foods are meant for babies 4-8 months old. These are your child's first foods – they are thin, watery, bland, and the least likely to cause an allergic reaction.
To make your own Stage One cereal, grind brown rice or steel cut oatmeal (not instant or quick cook varieties) in a blender or food processor ( a great kitchen tool, by the way) and use the resulting powders in the following:
Rice Cereal
- ¼ cup rice powder
- 1 cup water
Add rice powder to boiling water, stirring constantly. Continuing to whisk, simmer for 10 minutes. Add formula or breast milk and/or fruit. Serve warm.
Oatmeal Cereal
- ¼ cup ground oats
- ¾ cup water
Add ground oats to boiling water, stirring constantly. Simmer for 10 minutes while continuing to stir. Add formula or breast milk and/or fruit. Serve warm.
When she's ready to move beyond cereal, try these recipes to satisfy her hunger pangs (and your conscience).
Just remember the 4-day rule for new foods to isolate possible food allergies.
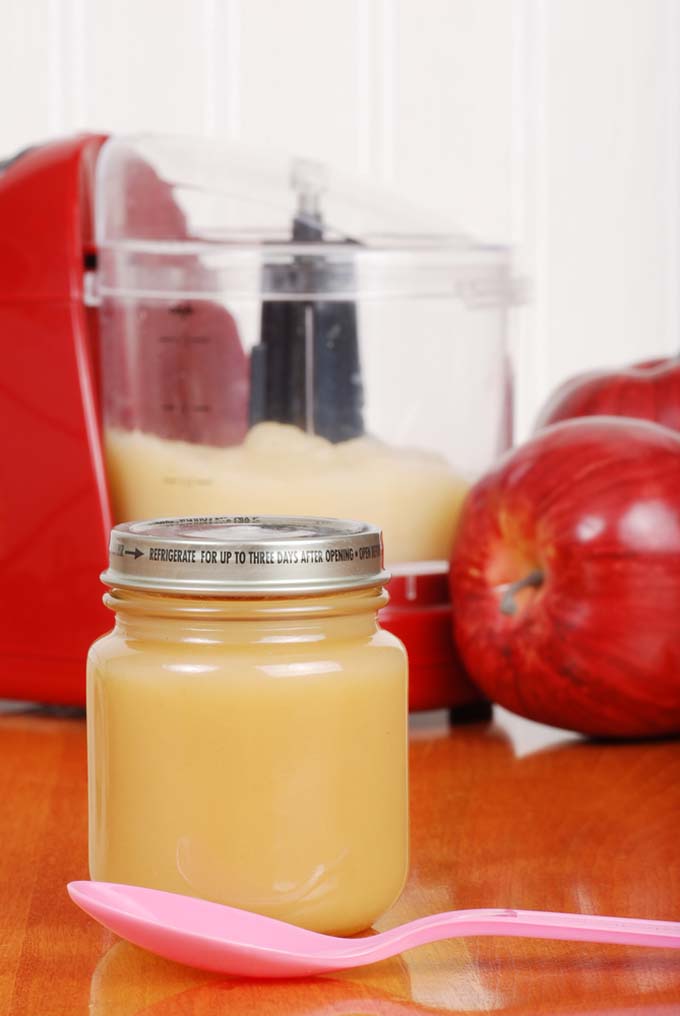
Applesauce
1. Peel and core apples (I like to use Gala, Braeburn, Roma or Macintosh apples).
2. Cut into pieces or slices and place in a medium saucepan.
3. Add enough water to just cover the apples.
4. Bring to a boil and simmer until tender. Add more water if necessary.
5. Mash with a potato masher or place in a blender or food processor with a small amount of water to puree. An immersion blender is also a wonderful tool to have on hand for making your own homemade baby food.
Avocados
These area great source of vitamins A, C, niacin, and folate as well as a variety of minerals including potassium, phosphorus, iron, magnesium, and calcium.
1. Choose dark green fruits with bumpy skins.
2. Peel and remove the pit.
3. Mash flesh with a fork.
For further reading, check out our posts on storing them as well as softening an unripened avocado.
Green Beans
Green beans offer large amounts of vitamins A, C, K, niacin, and folate, as well as minerals including potassium, sodium, phosphorous, iron, magnesium, and calcium.
1. Start with 1 pound of fresh green beans, washed, with the ends snapped off and strings removed.
2. Place beans in a steamer basket in a pan with enough water to touch the bottom of the basket, and bring to a boil.
3. Steam until very tender, keeping an eye on the water level.
4. Puree in a blender or food processor with just enough cooking liquid to achieve a smooth, thin consistency.
5. Push through sieve if you need to, to get rid of any skins. You can also place hot beans in an ice bath (a large bowl filled with ice and water) before pureeing with an immersion blender or running through a food mill, for a smoother consistency.
Sweet Potatoes & Yams
1. Sweet potatoes and yams contain lots of healthy vitamins and minerals including A, C, folate, potassium, selenium, phosphorous, magnesium, and calcium.
2. Start with 2-3 medium sweet potatoes or yams. Wash the potatoes and prick with a fork. Wrap in foil to prepare in the oven, or plastic wrap to cook them in the microwave.
3. Bake in a 400°F oven for 30-60 minutes until soft, or microwave on high for 8 minutes until tender.
4. Remove skins and puree, adding liquid of your choice as needed for a smooth, thin consistency.
Stage Two
Stage Two Foods are meant for babies 8-10 months old. These are thicker, lightly seasoned, and made with foods appropriate for this age group, such as yogurt, cheeses, meats, and other proteins.
Meat or Poultry Puree
- 1 cup cold, boneless beef, pork, veal, or chicken, cut into 1-inch chunks
- ¼ cup cooking liquid/juices or water
1. Place meat or poultry in the blender or food processor and puree until powdery.
2. Continue to puree, slowly adding enough liquid for the mixture to become smooth.
3. Add vegetables or fruits as desired.
Egg Yolks
1. Hard boil eggs, then peel and cut in half.
2. Remove the yolks and mash with formula, breast milk, yogurt, applesauce, etc.
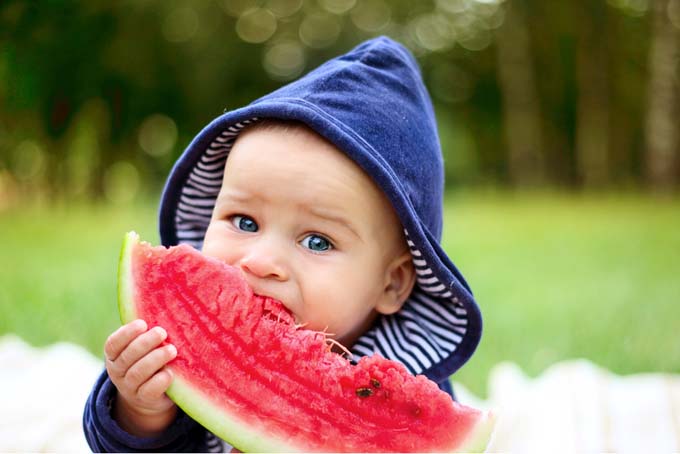
Finger Food
Finger foods are also often introduced at this time. Your baby should be able to chew at this stage, and he should have a pretty good pincher grasp. Foods should be soft, and cut into a small dice.
Storage Tips
Current recommendations for storing homemade baby foods are up to 48 hours in the refrigerator, and up to 1 month frozen.
To freeze, put purees in ice cube trays and cover with plastic wrap. Transfer to freezer bags when frozen.
When ready to use, thaw out a cube and reheat. Using a standard ice cube tray, one cube equals on ounce of food.
Healthy Eating from the Start
Start your children off eating healthy foods and before you know it, they will be old enough foryou to teach them to cook!
We live in a time of global crises that range from environmental to financial, and often the big picture can seem out of our control. But sometimes it's the little things you can do that end up making the most difference.
By ensuring good nutrition for your child right from the start, you may be boosting the likelihood that she will adopthealthy eating habits later in life. When you consider the benefits to your wallet and the environment as well, making your own baby food looks like a real bargain. In fact, It's a triple-play coupon!
If you don't already have a blender, then you can check out this buying guide to ensure that you purchase one that meets your needs.
So, what's on the menu for your baby today?
The staff at Foodal are not medical professionals and this article should not be construed as medical advice. Foodal and Ask the Experts, LLC assume no liability for the use or misuse of the material presented above. Always consult with a medical professional before changing your diet, or using supplements or manufactured or natural medications.
Photo credits: Shutterstock.

About Lynne Jaques
Lynne is a stay-at-home mother of two boys. As a former US military officer and the spouse of an active duty US military member, Lynne enjoys traveling the world (although not the moving part!) and finding new cuisine and methods of preparing food. She also has the habit of using parenthesis way too much!
Sashween Kitchen Tool to Sieve Food to Make Baby Food
Source: https://foodal.com/knowledge/paleo/make-nutrional-baby-food/
0 Response to "Sashween Kitchen Tool to Sieve Food to Make Baby Food"
Post a Comment